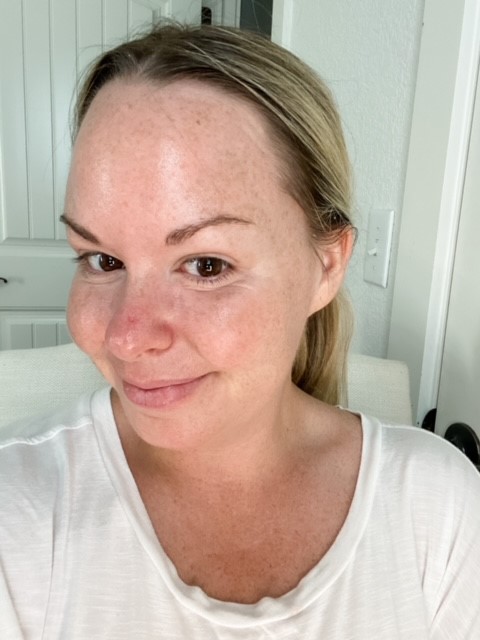
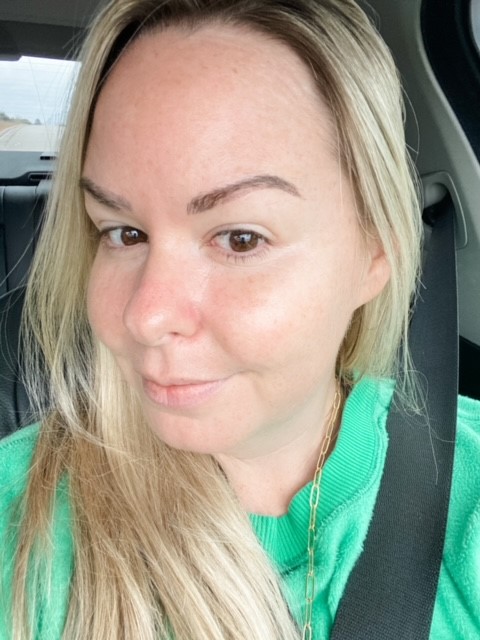
I had finally come to terms with my sparse uneven eyebrows when I passed a scroll stopping before and after photo on Instagram. It was posted by another local blogger and she was shouting from the rooftops how amazing her microblading results were. I was intrigued.
Before I knew it, I was down a Pinterest rabbit hole of microblading progress and before/after photos. By the end of the night, I had fully convinced myself to make an appointment for microblading. I’m going to take you on my journey in this post and let you in on some tips that I wish I would have known before committing. No regrets here, but unless you do extensive research, you’d have no idea what an intense process microblading is.
WHAT IS MICROBLADING?
Microblading is a manual process that involves teeny tiny fine-point needles that make up a small disposable blade that’s used to scratch and deposit pigment under your skin. The result is realistic looking brow hairs that do not wash or rub off. Microblading is often confused with tattoo makeup, and while that’s not entirely false, microblading does not last forever. You can expect it to last 1-2 years depending on your skin type. Oil prone skin tends to fade faster, but you can always go back for a touch up.
HOW MUCH DOES MICROBLADING COST?
Microblading is not cheap. Depending on where you live, you can expect to pay anywhere from $500 to $1500. It’s a two step process, and often times the follow up appointment cost is included in the total cost, so just be mindful of that when you’re booking an appointment.
KNOW BEFORE YOU GO
Before embarking on any procedure, you should always always always do your own research. Microblading is no exception. Even though it’s non-invasive, it still requires a long healing process and can even be uncomfortable at times. You want to plan to have it done when you know you have no events in the near future. Basically what I’m saying is don’t get microblading a week before your wedding or a trip or anything that may involve you wanting to look your best.
THE FIRST APPOINTMENT
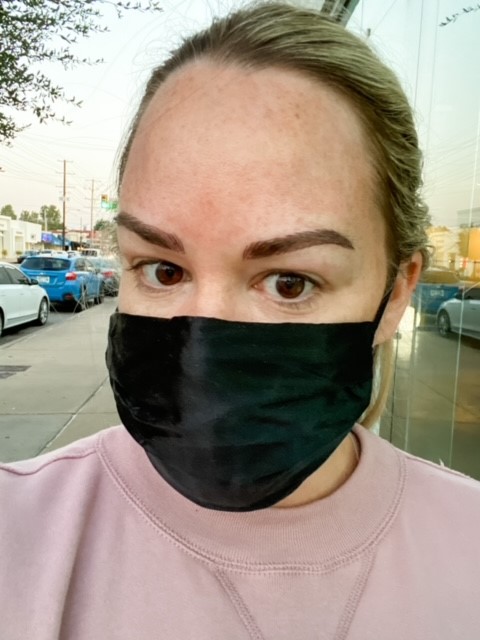
When you first get microblading, it’s going to span over two, sometimes three appointments. Your first appointment is when your esthetician maps out your brows and does the initial pass with pigment on your brows. I had mine done at a salon in Tulsa by a wonderful esthetician named Erica. My first appointment took about an hour. When I first arrived, Erica applied numbing cream to both brows and had me sit for 30 minutes while it did it’s thing.
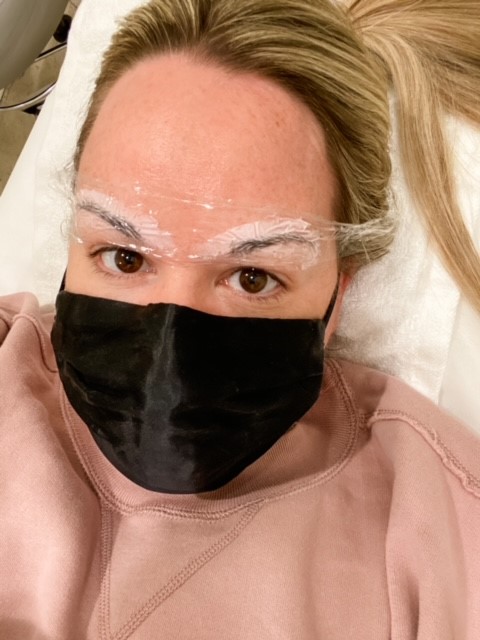
After the numbing cream kicked in, Erica mapped out my brows using a guide, had me check to see if I liked them, then proceeded with the pigment. Personally, I did not feel any paint whatsoever while she was doing the actual microblading. The numbing cream worked very well, and I was very comfortable the entire time.
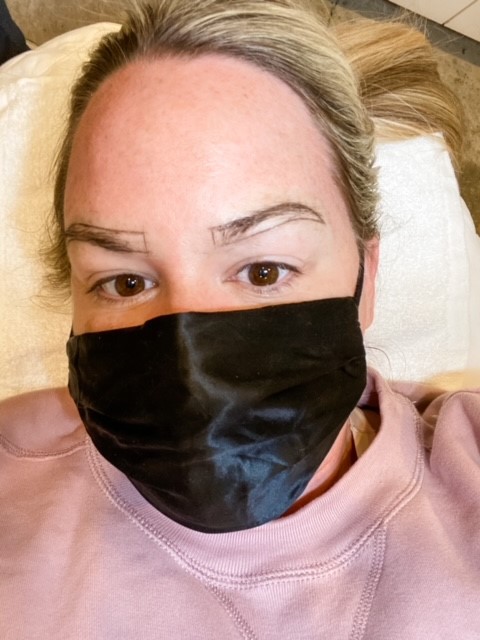
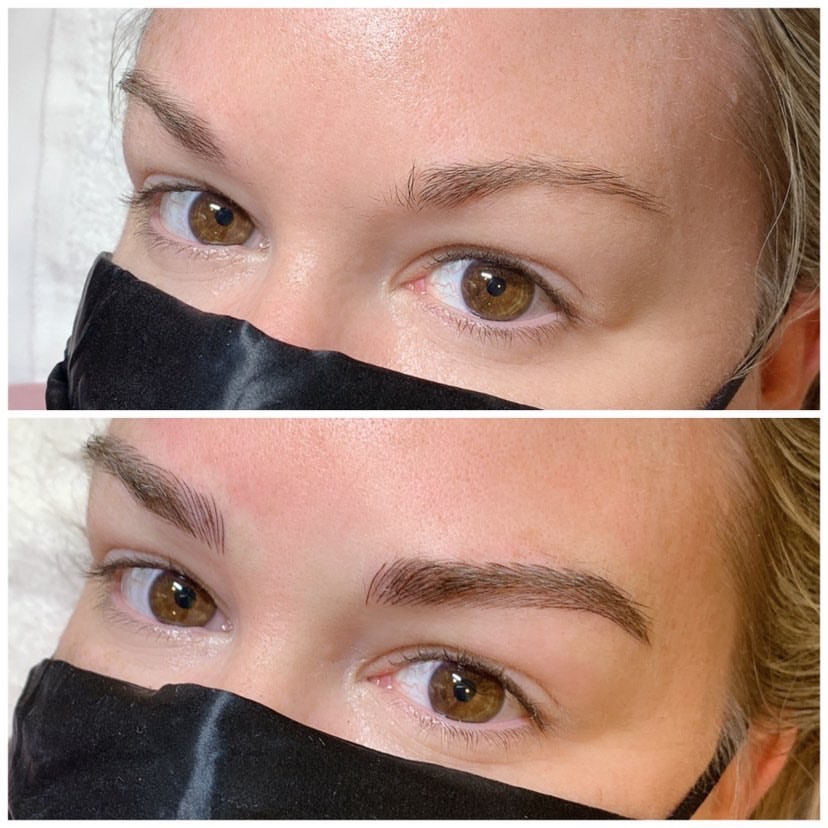
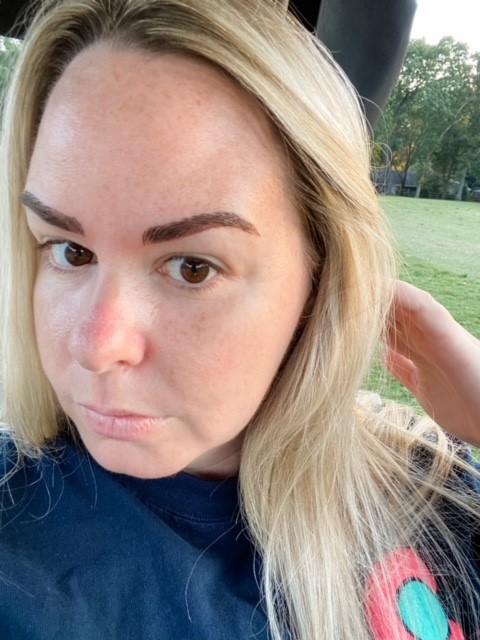
When she was finished, she had me check to see if I liked the shape. The color was incredibly dark, but I knew that would be the case because I had done extensive research beforehand on what to expect. The color will fade up to 40% lighter than what it looks like at your first appointment, so don’t be scared when you look like you have caterpillars on your face.
As soon as the appointment is over, you’re going to look at your brows and think “Wow these are incredible! I look like a Kardashian,” but I trust me in saying that will quickly change. The healing process is no joke and takes six weeks after your first appointment.
THE HEALING PROCESS
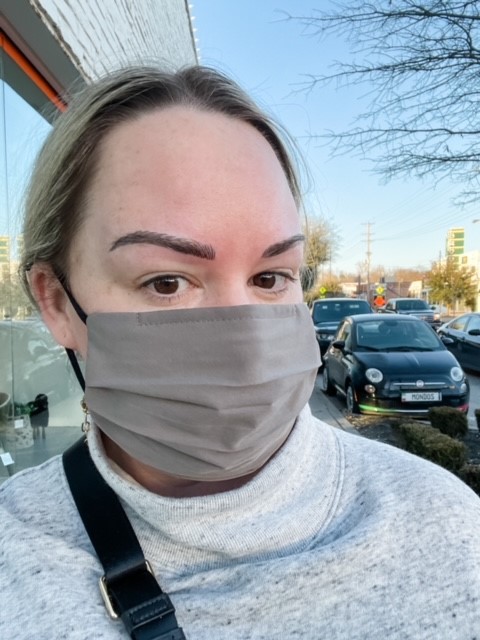
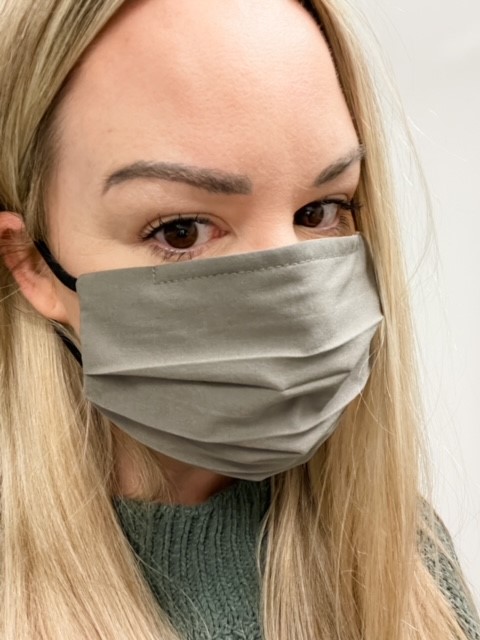
I say first healing process, because you’ll have to allow time to heal after both your initial appointment and your touch up appointment which comes six weeks after the first one. You can expect: brows to get extremely dark, start to scab, scabs fall off, pigment fades, pigment comes back. During the first two weeks, you cannot get your brows wet or wear any make up products on them. It’s ok if they get water splashed on them in the shower, but do not sit under the shower head and let them get soaked. Erica did not have me apply any type of ointment and said she feels like they heal faster/better when they are dry and free from product.
Day 1: My brows were so dark that when I Facetimed my three year old niece, she asked if I was wearing a Halloween costume. They were dark, but the shape was so beautiful. I had a little bit of redness, but no other discomfort.
Day 3: Brows were even darker than day 1, and still no itching. I did have a little bit of redness though.
Day 4: I now had full brown caterpillars on my face. Scabs were starting to form and I was experiencing a little bit of itching.
Day 6: My brows had almost a red tint from the irritation of the blades. It was increasingly more uncomfortable, and it took everything I had to not start picking the little scabs off. It’s extremely important you let the scabs fall off naturally so that the pigment can fully be absorbed by your skin.
Day 7: The scabs started to fall off gradually, and my eyebrows were looking very patchy. This is totally normal and part of the healing process. The pigment will appear to be fading, but it will come back, I promise.
Day 10: The scabs had almost completely fallen off and I no longer looked as patchy. The pigment was still faded in some areas, but my overall comfort level had dramatically increased from the week before.
Day 14: My brows were finally starting to look normal again. It had been a dicey (but completely normal) two weeks of healing. I was ready to get my face wet and wear make up again.
After the first two weeks, there isn’t much visible change to your brows, other than the pigment fading/coming back. I had a couple of spots that were really light, but I knew that I’d have my touch up (second appointment) soon and those concerns would be addressed & fixed.
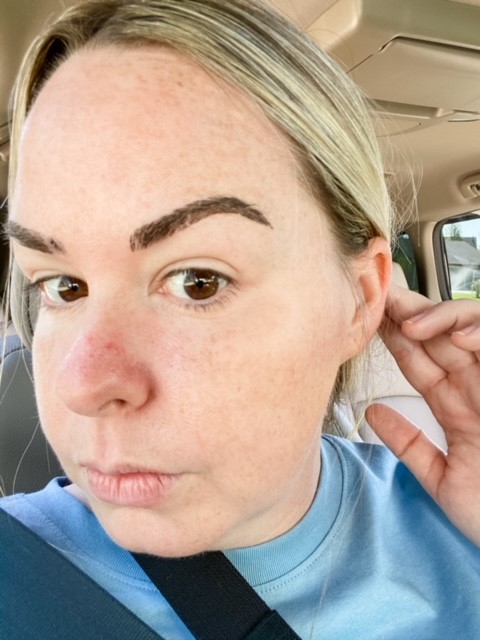
THE TOUCH UP
You have to wait at least six weeks after your first appointment to go in for a touch up. I ended up going in about eight weeks later. My first appointment was right before the holidays kicked off, and I didn’t find the time until January to go back in. My brows had some significant fading in some spots, so I was excited to get that taken care of.
The touch up was the exact same process as the initial appointment. Started with numbing cream, ended with flawless brows.
The post appointment instructions were exactly the same, but the healing process was not near as long or uncomfortable as the first go around. Since the touch up doesn’t require microblading the entire brow (just the areas that need touched up), the itching and scabbing was very minimal. One thing that was the same was that the pigment took a full six weeks to return to it’s normal color.
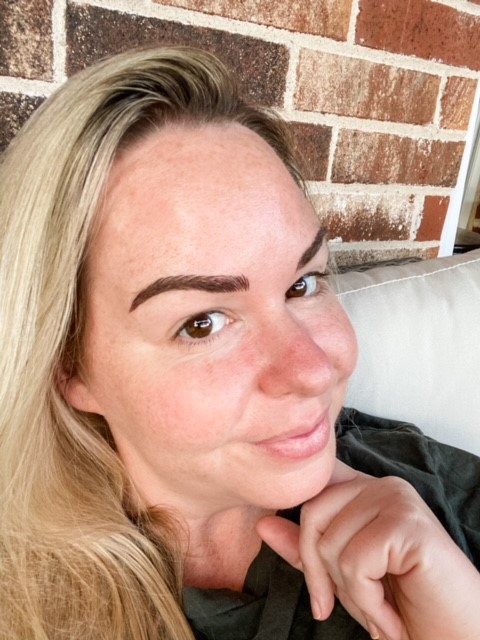
FINAL THOUGHTS ON MICROBLADING
A lot of my friends have asked me if I think that microblading is worth the money. I received mine free in exchange for social media promotion, but I would pay full price a hundred times over if it came down to it. My full brows give me life on my no makeup days, and cuts down the amount of time it takes to get ready when I do wear makeup. I love not having worry about filling my brows in or if they look even. Final verdict is if you are considering it and are a good candidate for it then you should definitely do it!
